It is a remarkably common dilemma for homeowners to wake up one day and realize their house suddenly feels entirely too small. Whether your family is growing, you have transitioned to working remotely full-time, or you have simply accumulated a lifetime of possessions, the walls can easily begin to feel as though they are closing in. For many decades, the default solution to this problem was straightforward: put a “For Sale” sign in the front yard, pack up your life into cardboard boxes, and move to a larger property. However, in today’s real estate market, upgrading to a larger home involves navigating high interest rates, exorbitant closing costs, realtor commissions, and the sheer physical and emotional exhaustion of uprooting your family.
Fortunately, moving is far from your only option. You do not necessarily need to purchase more square footage to experience more space. Often, the feeling of confinement stems not from a lack of physical area, but from inefficient layouts, underutilized zones, and poor visual design. By making strategic design choices and investing in targeted renovations, you can unlock hundreds of square feet of highly usable, beautiful living space that is already hiding within your current property lines.
Rethinking Your Culinary Layout for Maximum Efficiency

The culinary center of your house is a heavily utilized room, serving as a meal preparation zone, a dining area, a homework station, and a social hub. Due to its many uses, it can feel cramped. To expand this area without altering exterior walls, focus on maximizing vertical volume and improving your storage. A significant waste of space in traditional layouts is the gap between the top of upper cabinetry and the ceiling. This gap attracts dust and grease without serving a function. Extending storage to the ceiling offers new storage for seasonal items and creates an optical illusion of a taller, more expansive room. Innovatively designed pull-down shelving by a kitchen remodeler can make high-stored items accessible without using a ladder.
For the lower half of your kitchen, consider functional improvements. Standard base units with wide doors and fixed shelves are inefficient, often resulting in clutter. Transition to specialized organizational hardware to streamline storage.
- Deep Drawer Conversions: Swap traditional doors for stacks of deep, heavy-duty drawers. Drawers allow you to utilize the full depth of the space, bringing the contents out to you rather than forcing you to dig around on your hands and knees.
- Blind Corner Solutions: Dead corners eat up valuable square footage. Installing articulated lazy Susans or pull-out peanut-shaped shelving ensures every square inch of the corner is easily accessible.
- Vertical Pull-Out Pantries: Even a narrow six-inch gap between an appliance and a wall can be transformed. Utilizing specialized kitchen cabinet services to install slender, sliding spice racks or canned goods pull-outs condenses your storage, potentially freeing up enough external floor space to finally add that coveted center island.
Transforming the Clutter Zone: Reclaiming Your Parking Bay

Homeowners often overlook the largest area on their property: the parking bay. Many households use this space as a dumping ground for boxes, old toys, decorations, and tools, leading to vehicles being parked outside and wasting valuable enclosed space. Reclaiming this area is a cost-effective way to increase your home’s functionality. The key to organizing this space is to keep the concrete clear. Elevate everything using heavy-duty wall systems. Slat-wall panels allow customizable organization with hooks, baskets, and brackets. Wall-mounted garage cabinets keep items dust-free and secure, away from children’s reach. By utilizing wall and overhead storage, you free the central area for vehicles, gym equipment, or a play area.
This reclaimed space is also ideal for a hobby or DIY workspace. Avoid bulky, permanent workbenches; instead, opt for a fold-away, multi-purpose station.
- Drop-Down Brackets: Utilize heavy-duty, locking folding brackets mounted directly to the wall studs.
- Durable Surfaces: Pair these brackets with heavy, resilient materials sourced from professional countertop installations, ensuring your workspace can withstand hammering, painting, and heavy tools.
- Pegboard Integration: Mount a pegboard directly above the folding table to keep your most-used hand tools visible and accessible. When your project is finished, the entire workbench folds completely flat against the wall, instantly returning the floor space to its primary function.
Creating Visual Expansion in Tight Washrooms
Small washrooms can easily feel like claustrophobic closets, especially when they are burdened with bulky fixtures and fragmented design elements. Because you are dealing with a strictly confined footprint, the strategy here relies heavily on optical illusions, uninterrupted sightlines, and the strategic manipulation of light. You can trick the human eye into perceiving a much grander space by removing visual barriers and simplifying the materials used throughout the room.
The single biggest offender in a cramped washroom is the traditional shower-tub combination. A standard bathtub consumes a massive portion of the floor plan, and the accompanying shower curtain or frosted sliding glass door acts as a solid visual wall, literally cutting the small room in half. The most effective way to instantly double the perceived size of the space is to eliminate the tub entirely. A highly skilled local bathroom remodeling company can safely remove the old fiberglass surround and execute a curbless walk-in shower conversion. By removing the physical curb you have to step over and enclosing the new shower in crystal-clear, frameless glass, you allow the eye to travel unobstructed from the doorway all the way to the back wall. This uninterrupted sightline creates an immediate, breathtaking sense of openness and luxury.
To maximize this optical illusion, the treatment of the floor is absolutely critical. Chopping the room up with different materials—such as a dark linoleum in the main area and a small white mosaic tile inside the shower pan—creates visual boundaries that make the room feel disjointed and tiny. Instead, the goal is seamless continuity.
- Monolithic Flooring: Run the exact same tile from the doorway, straight across the main floor, and directly into the shower without any breaks or threshold transitions.
- Large Format Tiles: Use the largest tiles the space can reasonably accommodate. Fewer grout lines mean less visual clutter, which translates to a calmer, larger-feeling room.
- Expert Sloping: Achieving this seamless look without a curb requires master-level precision. Engaging experienced flooring services is essential to ensure the subfloor is perfectly pitched toward a linear drain, guaranteeing proper water runoff while maintaining a flawless, continuous aesthetic surface.
Finishing Raw Square Footage: Attics and Basements
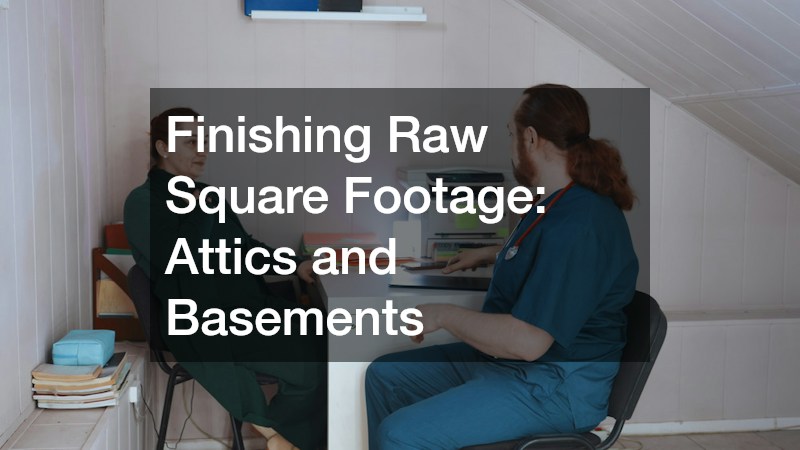
Before you ever consider pouring a new foundation in your backyard, you must look up to your rafters and down to your subterranean levels. Unfinished attics and basements represent a massive reservoir of raw, untapped square footage. Transforming these dark, cavernous spaces into vibrant bedrooms, media centers, or home offices is an incredible way to expand your living area. However, because these zones were originally intended for utility and storage, converting them requires careful planning, particularly regarding climate control and moisture management.
The first and most critical step in finishing raw square footage is establishing a robust thermal envelope. Unlike your main living floors, attics face extreme radiant heat from the sun, while basements are constantly battling the cold, damp earth pressing against their walls. If you simply throw up drywall without proper preparation, your new room will be freezing in the winter, boiling in the summer, and dangerously susceptible to mold rot. To prevent this, you must bring in a certified insulation contractor to seal the space. In a basement, applying closed-cell spray foam or rigid foam board directly against the concrete foundation walls acts as both a powerful thermal barrier and an impenetrable vapor retarder. In an attic, spray foam applied to the underside of the roof deck can dramatically lower the temperature of the space while maximizing the usable footprint, as it does not require thick, bulky framing to achieve a high R-value.
Once the space is properly sealed, you face the challenge of routing climate control without ruining the aesthetics of the room. Attics often feature low, sloped ceilings, and basements are notorious for overhead plumbing pipes and floor joists.
- Avoid Dropped Ceilings: Using a suspended acoustic tile ceiling to hide bulky traditional ductwork will instantly make a basement feel like a cramped corporate cubicle.
- Strategic Soffits: Instead of dropping the entire ceiling, frame tight, localized soffits only around the necessary obstructions, leaving the rest of the ceiling as high as possible.
- Alternative Climate Solutions: Traditional forced-air ducts take up an enormous amount of overhead space. By consulting with specialized HVAC companies early in the design phase, you can explore low-profile alternatives. Slim-duct systems can be routed entirely between the floor joists, or you can install highly efficient ductless mini-split units directly on the wall, completely eliminating the need for space-stealing ductwork altogether.
Pushing the Envelope: Bump-Outs and Exterior Additions
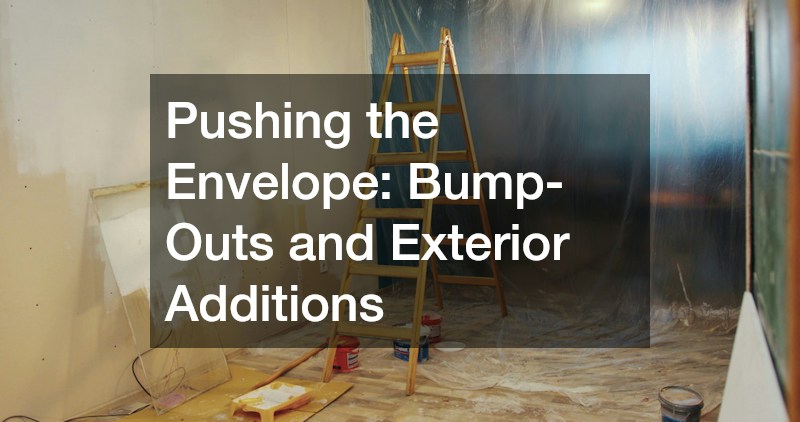
There comes a point where internal reconfiguration and finishing raw spaces are simply not enough to meet a family’s needs. When you have exhausted the possibilities within your existing walls, it is time to push the envelope outward. However, expanding your footprint does not always require a massive, multi-story addition that takes a year to build and drains your savings. Often, a micro-addition is all that is needed to dramatically alter the flow and function of your home.
A bump-out is a micro-addition that typically extends the exterior wall outward by just two to four feet. While this may sound insignificant, three extra feet of depth across a fifteen-foot wall yields forty-five square feet of new space—which is often exactly what is needed to fundamentally transform a room. A simple bump-out can provide the necessary clearance to add a luxurious window seat in a bedroom, create a sun-drenched breakfast nook in the kitchen, or finally allow enough clearance to install a soaking tub in the master suite. Because these micro-additions are small, a capable home remodeling company can frequently execute them by cantilevering the new floor joists off the existing structure. By suspending the new space in the air, you completely bypass the astronomical costs, messy excavation, and lengthy permitting processes associated with pouring a brand-new concrete foundation.
The greatest challenge of any exterior addition, regardless of its size, is ensuring that the new structure does not look like an obvious afterthought slapped onto the side of the house. For a bump-out to be truly successful, the exterior transition must be completely invisible, perfectly preserving the property’s curb appeal.
- Roofline Integration: The pitch and overhang of the bump-out’s roof must perfectly match or complement the existing architectural style of the main house.
- Window Matching: All new windows should identically match the grilles, trims, and sightlines of the original structure.
- Seamless Exterior Blending: The place where the old exterior meets the new wall is where poor craftsmanship is most obvious. It is vital to partner with meticulous siding contractors who will not just butt the new materials up against the old. Instead, they will carefully remove portions of the existing exterior and expertly feather the new planks or shingles into the old courses, resulting in a cohesive, flawless exterior that looks exactly as if the home was originally built that way.
The frustration of living in a home that feels too small is a heavy burden, but it is one that can be lifted without the extreme disruption of packing up and moving. As we have explored, space is very rarely just a matter of total square footage; it is far more about how effectively that area is utilized, how smoothly it flows, and how it is visually perceived by the human eye.
By looking critically at the dead air above your cabinetry, the cluttered concrete in your utility zones, the visual barriers in your washrooms, and the untapped potential of your raw subterranean and attic levels, you can uncover an abundance of hidden space. Even when internal options are exhausted, micro-additions prove that a few strategic feet can completely reinvent the way a room functions. I encourage you to walk through your house today with a fresh, analytical perspective. Identify the single most frustrating, bottlenecked room in your daily routine, and begin sketching out a targeted design strategy. With clever planning and precise execution, you can breathe new life into your property and create the spacious, welcoming home you have always wanted, right where you already are.